

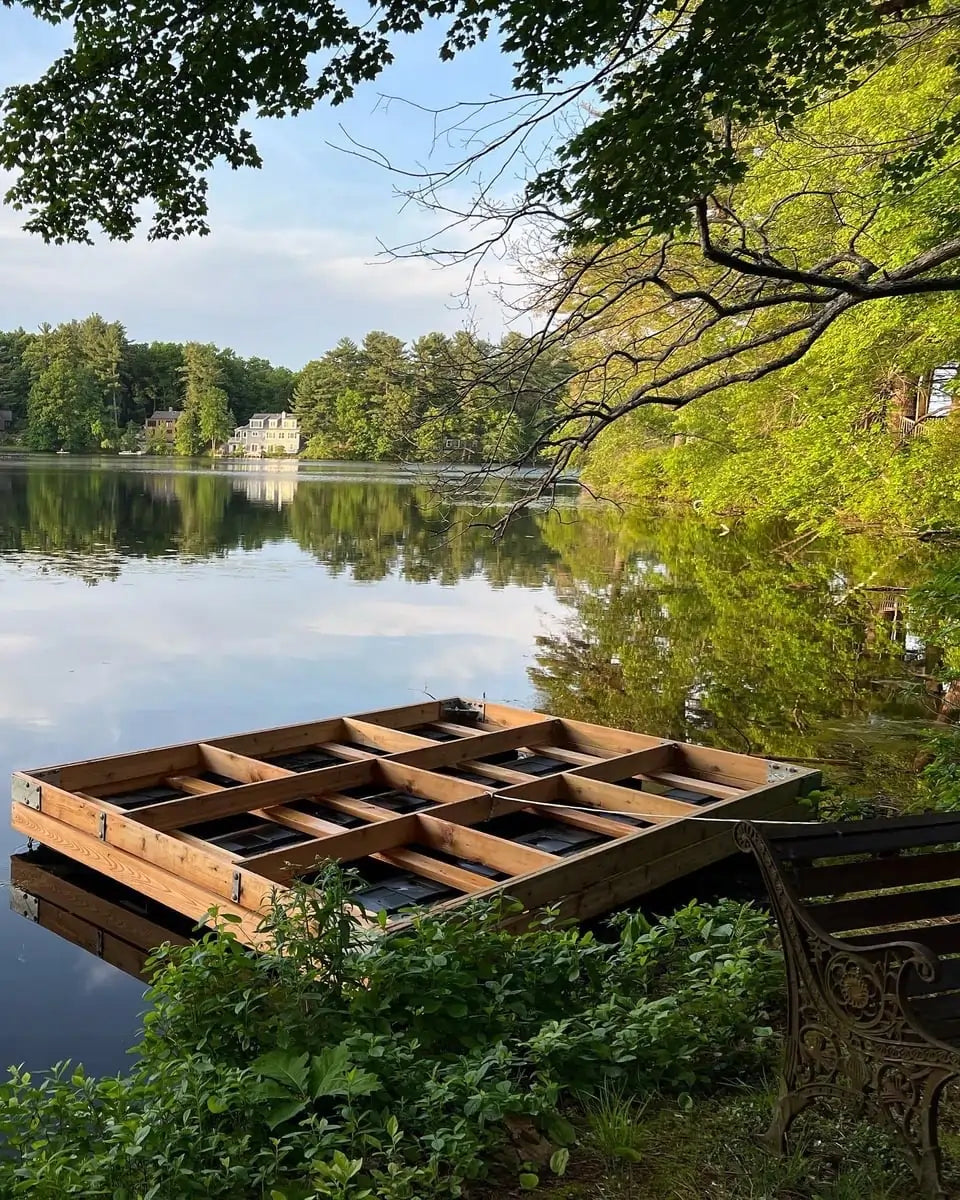
Pulling the dock is the worst job of the year. It’s cold, it’s wet, everything is heavier than you remembered, and you’d rather be doing anything else.
It’s also the only time you get a proper look at your dock. For eight months the frame is in the water and the hardware is underneath it. On removal day it’s all sitting on the shore in daylight, and you have access you won’t have again until next fall.
Treat it as your annual inspection and the job pays for itself. Treat it as a chore to rush through and you find the problems in May, when you want to be on the water.
First: should you pull it at all?
Not every dock comes out. The decision comes down to four things.
Pull it out if
Your water freezes solid, or freezes and breaks up repeatedly through the season.
The site is exposed to wind, current, or moving ice.
Water levels swing significantly — a dock that grounds out on the bottom takes its weight on the floats.
The sections are light enough to handle. Most 4′ and 6′ sections are a two-person job.
Leave it in if
You’re in a sheltered cove with stable water levels and predictable ice.
The dock is too large or heavy to remove practically.
You can run a de-icer or bubbler to keep water moving around it.
You accept that leaving it in is a managed risk rather than a no-risk option.
The general guidance across the industry is that removal is the safer choice wherever ice movement is a real possibility. Sheet ice that simply forms and sits is survivable. Ice that shifts, heaves, or floes is what destroys docks — and it does it to the frame and connections, not the decking.
If you’re taking it out
Before you start
Pick a dry day if you can, get a second person, and gather tools before you’re standing in the water realising you need a different socket. You’ll want wrenches, a socket set, penetrating oil, and something to move sections with.
Penetrating oil is the one people forget. Bolts that have been submerged since April do not want to come apart. Spray connection points the day before and you’ll spend less time fighting fasteners and round off fewer heads.
The order of operations
Removal sequence
- Strip the accessories first. Ladders, benches, cleat-mounted gear, solar lights, rod holders. Anything bolted on comes off before anything structural moves.
- Disconnect the sections. Pull the connector pins and hitch clips. Work from the outer end back toward shore.
- Label as you go. Tape and a marker. Sections that seem obviously identifiable in October are not obviously identifiable in April.
- Bag the hardware by section. Pins, clips, and bolts in a labelled bag beats a coffee can of mixed fasteners.
- Get sections up on blocks. Off the ground, so air moves underneath and the frame isn’t sitting in a puddle all winter.
- Tarp loosely, if at all. A tight tarp traps moisture against the wood. Loose covering or no covering beats a sealed one.
The inspection, which is the actual point
This is the part worth slowing down for. Everything is accessible, dry, and in daylight exactly once a year.
Hardware
Look at every bracket, angle, and plate. On galvanized steel you’re looking for red rust, not white powder. White or grey chalkiness is zinc doing its job and is normal. Red or orange staining means the zinc is gone in that spot and the steel underneath has started to go.
Check the areas that stay wet longest — the underside of stringer angles, the bottom edges of corner brackets, anywhere water sits rather than drains.
Test every bolt. A season of wave action works fasteners loose, and a loose bolt lets the joint move, which wears the hole oval and accelerates everything. Snug anything that turns. Replace anything that spins without tightening — that’s a stripped or corroded thread, and it isn’t holding anything.
Floats
Look for cracks, deep gouges, and any sign of water inside. A foam-filled float that’s taken damage will still float — that’s the point of foam — but a compromised shell lets water into the foam over time and buoyancy declines gradually.
If the dock has been riding lower each season without you adding weight to it, that’s waterlogged flotation, and replacement is the fix. It’s also worth checking whether it was adequately floated in the first place — a dock that sat low when new was under-floated from day one, and replacement is your cheap chance to correct it.
Frame
Check the wood where hardware bolts through. Fastener holes in pressure-treated lumber take the concentrated load, and that’s where rot starts. Press a screwdriver into anything that looks dark or soft. If it sinks in, that member needs replacing before it goes back in the water.
Fix it now, not in spring. A bracket you replace in November takes twenty minutes on dry land with the section on blocks. The same bracket in May means either doing it in the water or pulling the section back out.
Replacement parts also ship faster in the off-season than they do in April, when everyone on the lake wants theirs at once.
If you’re leaving it in
Docks that stay in still need work, and skipping it is how people end up with a spring surprise.
Leave-in checklist
- Remove everything detachable. Ladders especially — they catch ice and act as a lever against the frame.
- Add slack to anchor lines and chains. Water levels rise in spring, and a taut chain will either pull the dock under or tear out its anchor point.
- Run a de-icer or bubbler if you have power to the site. Moving water resists freezing, and an open channel around the dock relieves the pressure ice would otherwise apply to the frame.
- Tie off to something solid on shore as a backup, so a failed anchor doesn’t mean a dock somewhere down the lake.
- Clear snow if you can reach it safely. Accumulated snow is real weight sitting on your flotation all winter.
- Mark it. Reflectors or lighting, so nobody on a snowmobile finds it the hard way.
Never use salt or ice melt around a dock. Chloride is exactly what attacks zinc coatings and pits stainless steel. You’ll trade one winter’s convenience for years of hardware life. If ice needs managing, manage it mechanically or with a de-icer.
What tends to fail
Most winter damage isn’t dramatic. It’s cumulative, and it shows up in a few predictable places.
| What fails | Why |
|---|---|
| Connector pins and clips | Small, easy to lose during removal, and the first thing you can’t find in spring |
| Corner brackets | Take the twisting loads when ice or waves move sections against each other |
| Carriage bolts | Work loose over a season, then wear the hole and lose their grip |
| Float shells | Impact damage from ice or from dragging sections up a rocky shore |
| Frame members at bolt holes | Where water sits and rot starts, out of sight under the hardware |
Spring goes better if fall went well
The whole argument for doing this properly is that reassembly in April is a different experience depending on what you did in October. Labelled sections, bagged hardware, parts already replaced, and a frame you know is sound means the dock goes back in over a weekend.
The alternative is discovering a rotted stringer and three seized bolts on the first warm Saturday of the year, with a two-week wait on parts.
Found something during the pull-out?
We manufacture replacement brackets, angles, connectors, plates, and fasteners in Rochester, New York — and the off-season is when they ship fastest. If you’re not sure which part you have, send us a photo and we’ll identify it.
Call 585-266-7920 Browse replacement hardwareRelated reading: how many floats a dock needs if yours has been riding low, and what a floating dock costs if the inspection suggests it’s time to start over.
Disclaimer. All recommendations in this article are provided as general reference only. Dock Hardware disclaims any and all responsibility for the accuracy, completeness, or functionality of the information above. Ice conditions, water levels, and site exposure vary widely; consult a local dock professional for guidance specific to your location, and follow the manufacturer’s instructions for your dock system. Removing dock sections involves working near cold water — take appropriate safety precautions and do not work alone.